Modification
How can car stereo be tuned to play sound quality?
Add Date:2018/6/27 Clicks:

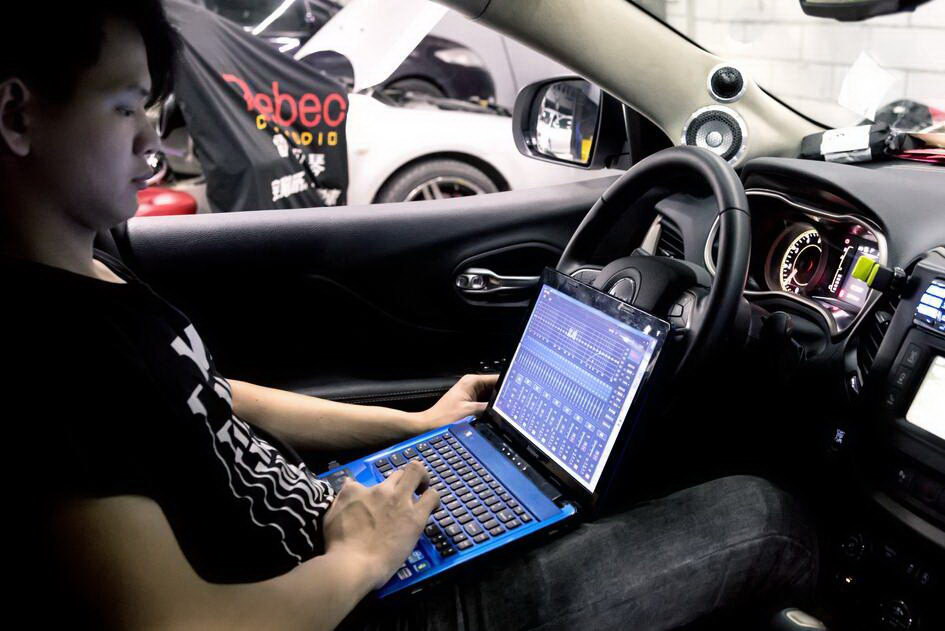
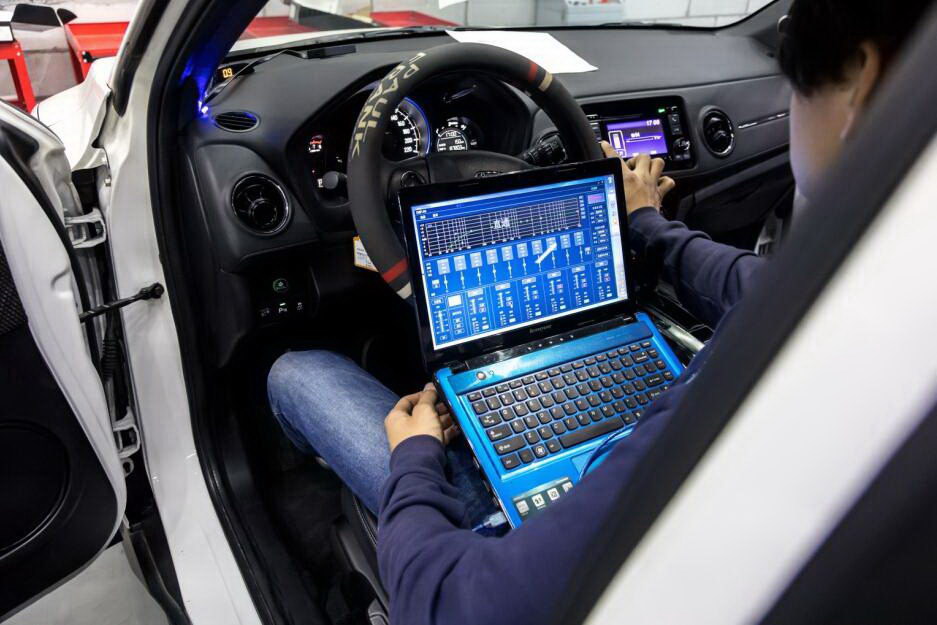
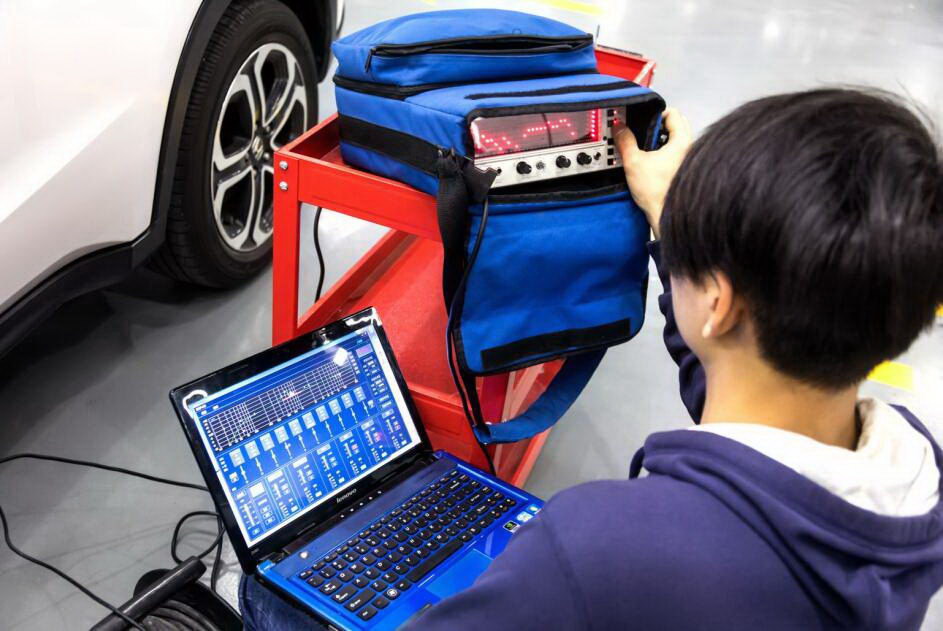
How can car stereo be tuned to play sound quality? As we all know, car audio debugging for car audio products play a very important decision. Below, to see what car audio debugging guide, car audio debugging skills.
Car audio debugging skills
1, host + coaxial horn tuning method
Turn up the volume, test for early distortion of sound, high speed left and right balance, check for 180 ° of phase difference, find a cassette or CD with monotonous voice, instrument, put the LOUND OFF BASS button and the edge button in the middle, and then test each speaker for the same performance of human voice, if there is a spectrum tester, Then test the ratio of high to low, if not, you have to rely on the ear to hear.
Turn the volume down to very small, listen to the treble if there is sonor is very obvious, that means the high volume is too much, in addition, strengthen the BASS button to listen to the BASS fixed is intact, there is no abnormal sound, and the low frequency performance is not good, low frequency can be increased appropriately, the brightness is not enough or too much treble can be adjusted to the button, Finally, adjust the FADER feel for positioning, change the music like this, and repeat the above steps several times.
2, the main engine + set of horn tuning method
Basically the same method as 1, if the treble volume is too much, the treble volume can be reduced to balance. The method is as follows: 5W cement resistance in series and parallel between the splitter and the tweeter. The + end of the treble should be placed in the normal position, such as the divider has -3dB, 0dB is placed in the 0dB position, because the position of the divider has resistance inside the -3dB position, the impedance will change to the expansion machine.
3, the main machine + expanding machine + horn
First set the sensitivity of the enlargement machine, turn it off to the minimum, and then turn the volume of the host machine to 80%, and then increase the sensitivity of the enlargement machine until the sound of the horn distortion, and then reduce some, this point can get the best signal noise ratio, the other is the same as combination 1.
4, the host + electronic split tone + expanding machine + horn + ultra low tone
First put all the volume control on the host in a central location, and then will be up to 80%, and will expand the machine close to the minimum sensitivity, it will be electronic audio input gain up in the middle, open the expanding machine input gain about half, and then increase the electronic audio output until the speaker appear distortion sensitivity of sound, then fell back to some so far, All the sensitivity setting has been finished, and then start tuning, before and after the first off the track in the treble, listen to the subwoofer separately, adjust the frequency division, subwoofer speakers can nature of operation, and there is no mechanical noise or other resonance, then add in Alt, and adjust the proportion of high and low sounds, channel after will turn it down, and then test the phase of the subwoofer, Change the ultra low tone phase 180° in small volume, that is, positive and negative pull or 0° ~ 180° selection switch on the electronic voice divider, to see which phase volume is the correct phase, when all the phase and frequency range are set after the detailed adjustment, the general ultra low tone frequency point is set between 80HZ ~ 100HZ, And Qualcomm part of the tweeter frequency points about 60HZ ~ 90HZ.

Steps and Methods for Car Audio Debugging
preparation:
1. First, restore all the additional functions of the car's main engine to the factory state, and then center all the high, middle and low tones. Of course, the left and right balance is the same.
2. Set the amplifier volume (GAIN) to the lowest position (MIN)
3. FILTER is set to OFF
4. CROSSOVER is set at the lowest
5. The subwoofer amplifier is handled in the same way
Step 1: Host debugging
Turn on the main unit, play some hi fi vocal discs or discs with more dynamic bass, and turn the volume to more than half or 3/5, which makes it easier to combine the bass with the bass in the front sound field, and more likely to produce a full bass.
Step 2: Front sound field debugging
First, we turn up the GAIN of CHANNEL-1/2 until the sound is loud, or the maximum sound you can accept. Next, we turn down the volume of the main unit, put in a voice disc or a disc with a stronger low-frequency, and then slowly turn up the volume of the main unit until it is slightly louder than what you normally hear. OK, you should listen carefully at this time. Is the voice clear? Do you have a nasal sound? Or the sound is too faint? If the sound is clear and there is no nasal sound, or the low-frequency sound has good elasticity, there is no trailing "buzzing" sound, and the low-frequency sound does not become faint, congratulations, your front door sound insulation and shock absorption installation is basically full score, in this state, your front door bass will play its best role.

Step 3: Host debugging
Generally, when the volume of the main unit increases, the voice will have a nasal sound, just like a cold, or the pronunciation is not clear, and there will be a "buzzing" ending sound when there is low frequency. These conditions are called resonance sound generation, which affects the clarity of the sound. Resonance will cancel out many details of sound, slow down the low frequency of sound, and turn your 5W worth of audio equipment into 1W.
What can be done to eliminate resonance? Sound insulation and shock absorption is a means. In addition, we can reduce the probability of such sound generation by using the CROSSOVER (cut-off frequency) on the host or power amplifier. Let's see the figure again. You can try to turn the FILTER (filter setting) to the HP (high pass) position, turn the CROSSOVER knob to 60HZ70HZ80HZ90HZ or even 100HZ, and the FILTER (filter setting) and CROSSOVER (cut-off frequency) are used together, FILTER (filter setting) The adjustment of the CROSSOVER (cut-off frequency) will be effective only in the LP or HP state. When the sound is not clear, we try to rotate the CROSSOVER (cut-off frequency) to see that the nasal sound of the human voice disappears or there is no "buzz" in the low frequency. If it is near 60~70HZ, congratulations. Sound insulation and vibration reduction are still good.
Step 4: Rear sound field tuning
No matter what state the front sound field is in, the rear sound field should be set at HP state, and the CROSSOVER (cut-off frequency) should be turned to around 150HZ. At this time, turn up the volume of the main unit. At the normal high volume, turn up the GAIN of the power amplifier in the rear sound field. When the front seat "feels" that there is a sound in the rear sound field, it is correct. If it can be heard, it means the sound is too loud.
Step 5: Bass adjustment
The adjustment of the bass is a key part of the car audio system. If it is adjusted well, the sound will change dramatically. (It is better for two people to adjust the bass, one in the car and the other in the back). After the first four steps of debugging are completed, turn the amplifier FILTER (filter setting) that pushes the bass to the LP (low pass) position, turn the CROSSOVER (cut-off frequency) to the lowest, then turn the GAIN to half or 3/4 of the front sound field, then turn the volume of the main unit to the normal higher position, and put a disc with strong low frequency into it. If the bass is too much or the bass is faint, it is that the GAIN is too high, so quickly turn the GAIN of the bass to a lower position, If GAIN is normal, you will feel that there is no bass coming out.
But the bass sounds behind you and makes a dull sound. With the increase of the CROSSOVER, the bass will gradually strengthen, harden, and feel larger, and the low frequency will slowly move forward. When the CROSSOVER is turned to a certain point, you will suddenly feel that the low frequency is combined with the low frequency of the front sound field. The low frequency is no longer emitted from the back, but is integrated with the front door speaker and emitted from the front, This point is the connection frequency between the woofer and the front door (the GAIN of the woofer must be adjusted together with the CROSSOVER (cut-off frequency). Remember, this is very important, and it is also the most difficult part to debug the car stereo). The correct woofer should be: it feels like the woofer is sent out together with the front door speaker and transmitted from the front door. There is not much low frequency sense. At this point, the whole debugging is over, and you can listen to music quietly, And according to their own hobbies and tastes to do fine tuning, until satisfied.


